Sous vide chicken fried steak

While I do not get to play around in the kitchen as much as I would like, I was fortunate that my friend Nat invited me to help cook dinner on Saturday for a group of our friends. He is always up for experimenting so this gave us the chance to try an idea I have had in mind for a few weeks: sous vide chicken fried steak.

IMG_3785

Chicken fried steak, in its classic rendition, is a usually inexpensive cut of steak pounded to tenderize it, coated and fried like a piece of chicken and served with gravy. During season thirteen of Top Chef, chef Jeremy Ford tried the technique of cooking a nice cut of steak in the sous vide, “gluing” chicken skin to the steak using transglutaminase and then frying the end result so the chicken skin was crispy. I was interested in trying this technique.

IMG_4153

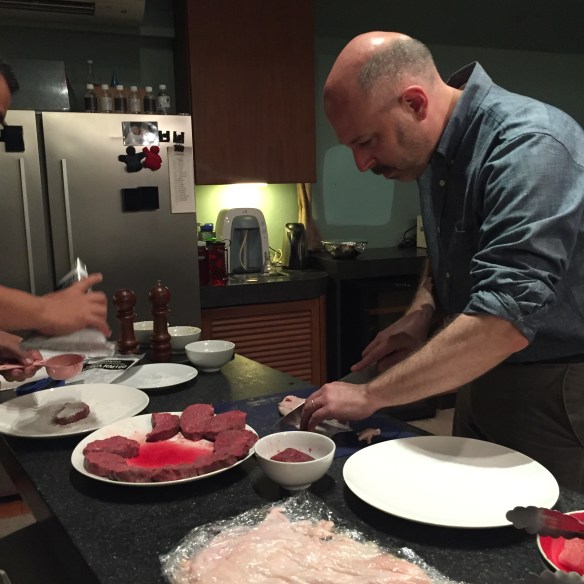
We followed a similar preparation, cooking a very nice grass-fed filet mignon in the sous vide until rare and then slicing it into medallions. The benefit of sous vide is that by cooking the food in a vacuum-sealed bag immersed in a water bath, the entire piece of food reaches exactly the desired temperature and then cooks no further. Instead of the outside of the steak being cooked and the inside being raw, as might happen when you fry or roast a steak, the entire cut was a consistent 131 degrees Fahrenheit and still a pretty pink.

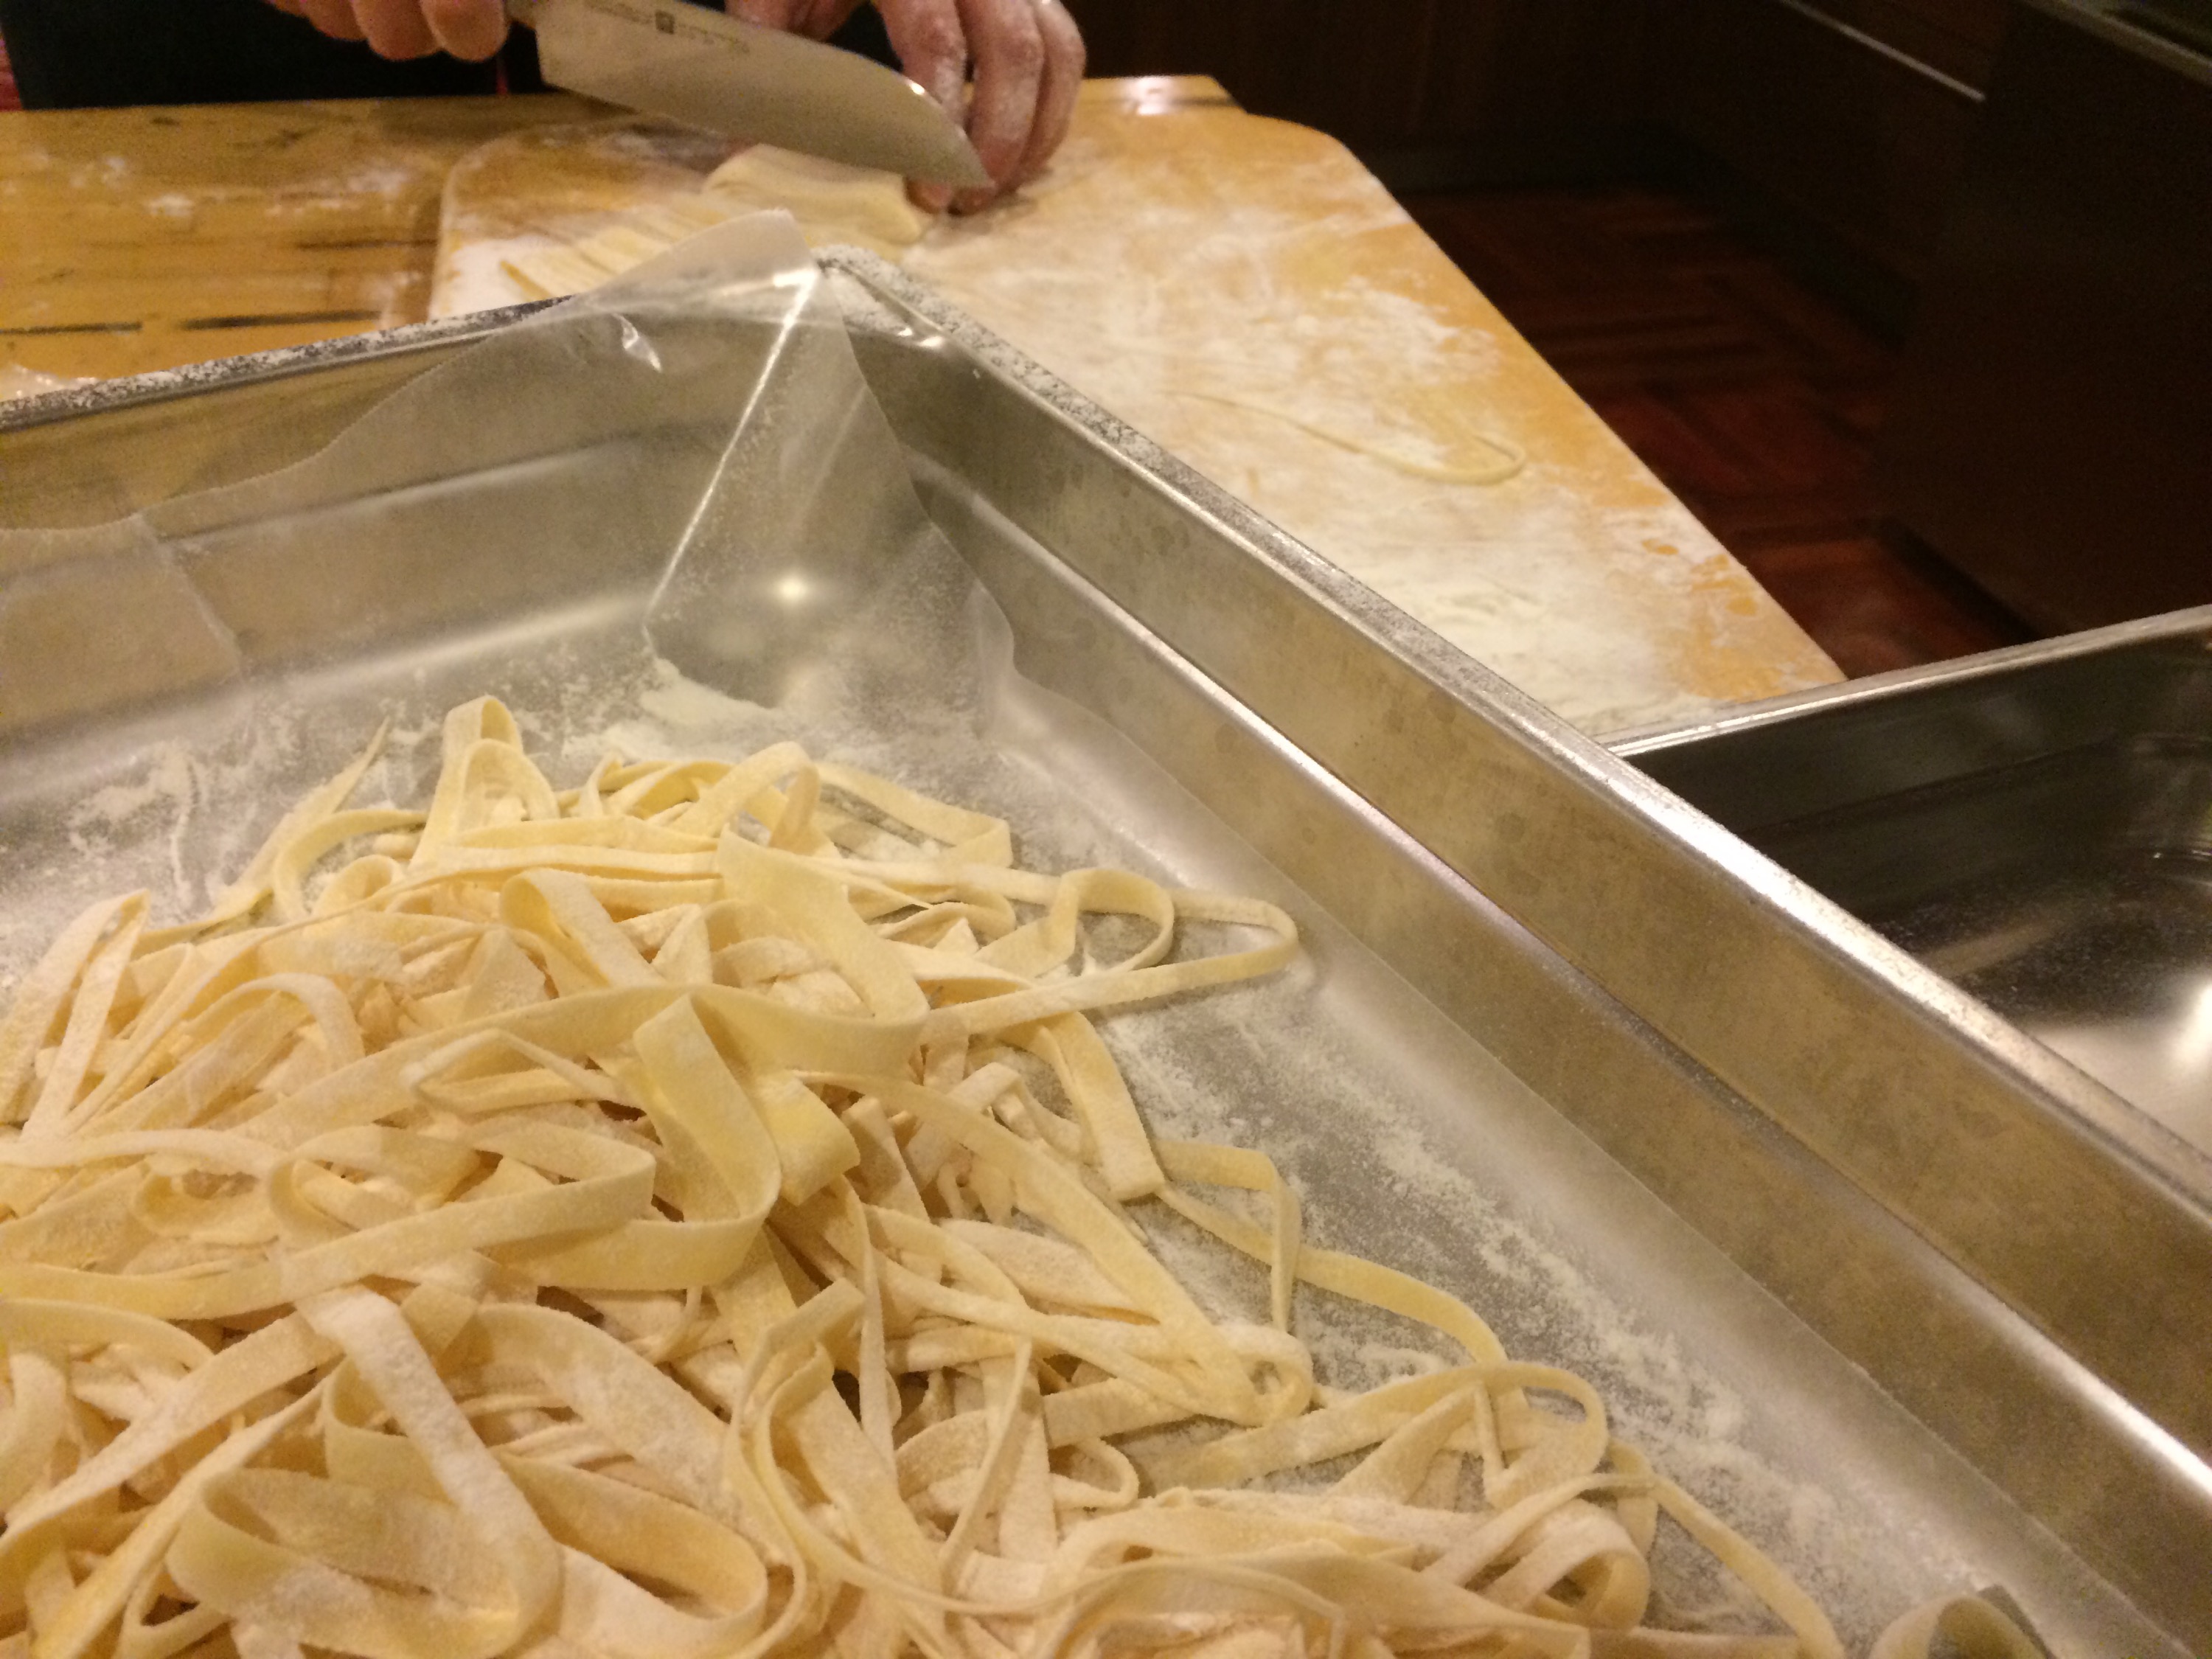
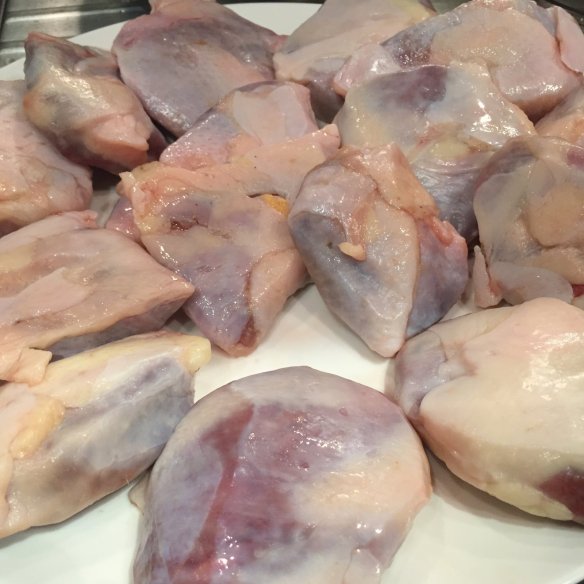
As the meat cooked, about two-and-a-half hours, we skinned whole chickens, basically turning them inside out. This was an interesting experience, something I have never done before. The end result are these sheets of chicken skin (seen layered in plastic wrap, above) with little “fingers” of skin like a glove where the legs were.

IMG_3794

After the meat was finished and sliced, we sprinkled it liberally with the transglutaminase.  (From the molecularrecipes.com website, “Transglutaminase is an enzyme that stimulates a bonding process at the cellular level with the amino acids lysine and glutamine in proteins. It’s not technically glue, though that’s what it’s often referred to as. It’s a protein that’s present naturally in both plant and animal systems. The product used in kitchens is created from natural enzymes using a fermentation process.”)

IMG_3791

I then wrapped the chicken skin around the steak. Trying to get the chicken skin cut to the right size was a bit tricky, and some extra transglutaminase was needed where there was overlap of the skin.

IMG_3790

Normally, it takes about two hours of refrigeration for the “glue” to firm up. But a quick trip back in the sous vide for about ten minutes sped up the process, resulting in this tightly-wrapped packages that looked a bit like duck breasts.

When it was nearing time to serve, we dredged the pieces in a mixture of flour, salt, pepper and chili powder and fried them in about two centimeters of rice bran oil. The end result was a crispy skin and a steak that was a perfect medium rare. We served this with an onion gravy and salad.

All in all, the result was positive. We could experiment with more consistent portion control – sizes of steaks varied a bit – and maybe a liquid batter instead of a flour batter. But, overall, I would rate this a culinary success.


A Birthday Dinner for Friends

There are few things more satisfying to me, than to cook a meal for loved ones. To celebrate my birthday and the birthday of a friend, I took over another friend’s kitchen and we cooked a dinner for 13 people. It was a nice feast and an even nicer group of people.

IMG_3387The menu was full but not too ambitious. I was trying to do something in an autumnal theme, although a few ingredients like figs were not available so did not remain on the menu.

IMG_3341

The most ambitious item was the individual lemon soufflés. I did not have enough ramekins, so made a morning visit to the Chatuchak weekend market to buy a set of 20, along with a set of matching individual pitchers, perfect for serving sauces in.

IMG_3353

A salad of mixed greens including butter leaf lettuce, sunflower sprouts, and radicchio, with persimmon, pears, and pumpkin seeds. Served with a Dijon mustard vinaigrette.

IMG_3360

The side vegetable was a roasted saffron cauliflower, a Mediterranean-style dish from the cookbook “Plenty” by London-based chef Yotam Ottolenghi. The combination of red onions, raisins, and green olives is fantastic.

IMG_3356The main course was a salt and herb-crusted pork loin with new potatoes. This dish, a mash-up from this recipe and another from Jamie Oliver, went okay but I didn’t have quite enough salt to make a full crust. As a result, the meat was just a tad dryer and the potatoes a tad undercooked. But still, very flavorful.

IMG_3364The finished product. I will play more with this means of cooking. The salt crust locks in moisture and adds seasoning.

IMG_3368To accompany the pork, I cooked an apple and onion chutney, based loosely on this recipe. I am not always good about following recipes.

IMG_3372

I think it made for a nice plate and reasonably healthful, too!

IMG_3374

Dessert was very ambitious. I had prepared the lemon cardamom base, which is essentially a choux pasty (milk, cream, flour, cornstarch, and egg yolks). I then added whipped egg whites. Sixteen of them, in fact.

IMG_3400

Top: as I put them in the oven (not quite as filled as they should be – I quintupled the recipe but only had enough for 13 instead of the expected 16). Bottom: just before taking them out. Since I did not smooth the tops, I didn’t get the typical “high hat” look.

IMG_3401

The end result was perfectly fine, though. Served with a side of raspberry coulis, the soufflés were a show-stopper. Recipe here.

I’m glad I could spend the night before my birthday celebrating with friends in the way I enjoy best: cooking for them.

Handmade Fettuccine 

A few weeks bag, my friend Chow and I cooked dinner at her place. It was the first time in a long while that I made handmade pasta. 

There are many recipes. I opted for Jamie Oliver’s, which is incredibly simple: for each 100 grams of “type 00” flour, add an egg.

After combining the two ingredients, you must knead for a very long while, until the dough takes on a silky texture. This excessive kneading explains why Italin grandmothers have Popeye-like forearms. 


After kneading and a half-hour rest, you roll out the dough. A rolling pin can be used, but a proper pasta roller is quite handy. This process further develops the dough’s texture and makes it sufficiently thin.   
 
After rolling, you gently fold the dough on itself and hand-slice it to the desired width. 


The final step is to separate the strands and then cook them in boiling, salted water. The uncooked pasta can be stored for a few days in the refrigerator. 

Trying My Hand at Making Bao Burgers

After a long while, I finally had the opportunity to try making my own Chinese-style bao burgers. The verdict? Pretty tasty and easier than I expected!

One of my favorite restaurants in the word is Little Bao in Hong Kong. (Read my review of it.) They are one in a crowd of restaurants doing more modern twists on the Chinese (specifically, Taiwanese) gua bao, steamed flour buns folded in half around pork belly, braised chicken, or other fillings.

P1280602A spicy fried chicken with garlic black bean mayo and scallion coleslaw bao from Little Bao in Hong Kong.

The conceit at Little Bao is that instead of a folded bun, they make their bao more like hamburger buns. This makes it possible to include more tasty fillings, offering a better balance of bread to filling. It was that hamburger-like quality that I wanted to achieve.

Day One

I worked with my friend Chow (aka the Bangkok Glutton), my frequent co-conspirator in the kitchen. The basic recipe for the bao is simple: flour, water, yeast, a bit of baking powder and a bit of salt. Some versions have some milk added for softness – I didn’t try that this time. You let the dough rise a few times, punching it down between rises but trying to avoid over-working it, because bao are meant to be soft, not chewy.

IMG_4867The first day, we made bao the traditional way, rolling them out into an oblong shape and them folding them in half over a piece of wax paper. This allows them to be opened and stuffed more easily. They are then steamed for about 8-10 minutes and can either be served warm or kept covered and reheated if necessary.

As for the red decoration, I found that trick in one online recipe. You use red food coloring and the tip of a chopstick to decorate the buns just before steaming. Looks pretty professional! Our kitchen assistants became more creative and so we ended up with all sorts of designs on our bao.

IMG_4872For the first day’s bao, we used some braised pork belly, homemade radish pickles, some braised cabbage, and some Italian parsley. It turned out okay, but the bao were a bit flat, brittle at the fold, and the fillings were underwhelming in flavor. All in all, though, a good first attempt.

Day Two

The second day we let the dough rise more and also shaped it into balls, making it more like a hamburger bun. This worked better although I think we over-worked the dough a bit, as it was tough.

IMG_4928The pictures don’t do justice, but the fillings were a great deal better this time around. We tried a different recipe for the pork belly, which had much more flavor than the original recipe.

IMG_4933We also did a duck breast, which I paired with the seasonings I had used the day before for the pork belly. This, too, was very nice.

IMG_4939The star of the show was a more traditional Taiwanese version with chicken thigh meat braised in Chinese rice wine and soy sauce served with chopped peanuts. This was so tasty, I could have eaten a half-dozen and I will have to try it again soon.

IMG_4937As an added bonus, since I was also teaching two friends’ children to cook, we made a homemade chicken noodle soup with both the broth and the noodles from scratch. I think the noodles came out a bit too “spaetzle-like” but they were tasty and the broth was the first time I’ve made a chicken broth that really wowed me.

Stay tuned for more from the kitchen.


Waffles

April and May have quite a few holidays here in Thailand. Days off can be strategically taken to have, for example, a five-day weekend using only one vacation day. Since I am still relatively new at my job and am saving up my vacation time for my family’s visit this summer, I am not taking any time off. But I did decide to celebrate the long weekend by making waffles for breakfast.

P1280807

There are countless recipes for waffles, but I quite like the one on the Pioneer Woman Cooks website. Ree Drummond’s recipes are well tested and her waffles are light and crisp, exactly the quality I admire in a waffle. The trick is to whip the egg whites into stiff peaks and then fold them into the batter just before cooking. This helps the waffles puff up instead of turning soggy.

P1280804

Truthfully, I’ve not sure that waffles are as great a breakfast choice as they may have once been. I am reaching an age where a heavy, carb-loaded breakfast doesn’t give me strength to go out and plow a field. It just gives me the strength to take a long nap. Which may be perfectly fine since it is a long weekend.


DIY Taco Night

Recently, a friend invited me to cook at his place for about 15 guests. The menu: do-it-yourself tacos with fish, pork, and beef fillings. I took the opportunity to shoot a video, something I haven’t done in a while.


Waffles and Fried Chicken

This past Saturday my friend Chow and I decided to tackle a combination I have heard a lot about but eaten only twice: fried chicken and waffles.

A classic of Southern US regional cuisine, the two go together better than I imagined. The waffles were light and tangy thanks to buttermilk and egg whites, which are folded in just before cooking.

20140317-075541.jpg

To give the chicken an extra layer of flavor, Chow whipped up a sauce of hot green chilies, cilantro, lime, vinegar, and honey. The kick cut through the richness of the meal.

We also prepared a slaw of cabbage, beets, daikon, and carrots plus a salad of cucumbers, sour cream, and dill. All in all, a tasty Saturday night feast.

An Umami Birthday Dinner

Trying to catch everyone up on my recent activities, in November I celebrated my birthday by cooking a dinner for some of my friends. One friend had recently remodeled his condo and was itching to have a dinner party to show off the new open-format kitchen. Never shy about messing up, err… cooking in someone else’s kitchen, I accepted his offer and started planning a meal around the theme of umami.

1450057_10152068465263377_634214758_n

Umami is the fifth taste (after sweet, sour, salty, and bitter). A Japanese word, it describes the “savory,” “meaty,” or “fulfilling” quality. Umami is tasted through glutamates, a type of amino acid that is found in foods such as mushrooms, anchovies, fish sauce, tomatoes, Parmesan cheese, and MSG.

P1270955

The appetizer course featured three umami-rich items: a Parmesan and wild mushroom custard, miso and bacon glazed eggplant, and whole grain toasts with avocado and soy-sauce dressed sardines. This was probably a wee bit ambitious as there ended up being so much food that this course was almost a meal in itself.

P1270957

The “soup” course was a bit clever, if I say so myself. I borrowed a friend’s ice cream maker and turned a roasted tomato soup into a granita and served it with Parmesan sorbet on top. It really had all the flavors of a tomato soup (plus a little spicy as I added dried chilies) with cheese sprinkled on top, but it was frozen.

P1270960

The main course was balsamic vinegar marinated roast chicken with green olives. This excellent choice of a marinade makes for rich, flavorful, and moist meat. Will definitely repeat this recipe.

P1270964

Accompanying the main corse were garlic and black truffle infused mashed potatoes with more Parmesan cheese sprinkled on top.

P1270965

We concluded the meal with a salad course, a Caesar salad with homemade dressing. This is the first time I’ve made Caesar dressing from scratch and it is incredibly easy and really much better than from a bottle. Served with homemade croutons with truffle salt.

P1270975

For dessert, I served an interesting Sicilian orange olive oil cake with homemade cardamom ice cream. The cake was interesting because it is made by quartering and boiling oranges (unpeeled) in three changes of water and then pureeing the oranges, rind and all, and incorporating it into the batter. The result is a moist, intensely flavored cake. The cardamom ice cream was an excellent compliment to the cake.

537099_10152068465003377_1108050018_n

While there were some friends who weren’t present, the dinner itself was a success. I was very happy with the dishes and while I would probably not be as ambitious next time, I think many of the recipes are worth visiting again.


Homemade Cavatelli

With friends visiting recently from the US, I asked if they would carry over a cavatelli roller I ordered online. When they arrived, I treated them to a meal of homemade cavatelli with homemade pesto sauce and chorizo.

2013-09-19 04

Cavatelli is a type of pasta. Roughly translated as “little cave” or “little cavity,” the pasta looks like miniature hot dog buns or, less favorably, maggots. But the shape is ideal for capturing sauce and being freshly made, they have a nice chewiness that you can’t find from dried pasta.

P1270639One classic version of cavatelli is made with ricotta cheese. That’s the version I tried and the resulting pasta is light and yet rich-tasting. After mixing the flour, ricotta, and one egg, you can still see flecks of the cheese in the dough.

P1270643

The dough is given a short kneading, but not nearly as much as most rolled out pasta. It is important that the dough be allowed to rest before you roll it out and cut it. It is also important that this dough be very dry. (Since you’ll ask, I was wearing gloves because I nicked my hand with a knife. Decided to wear gloves on both hands just to avoid the Michael Jackson look.)

P1270651

After the dough has rested, you cut it into strips about one inch wide. You must liberally flour the strips so it does not gum up the cavatelli roller. That’s a mess that is hard to clean up so best not to mess it up to begin with.

P1270655

The final step is to hand-crank the strips of dough through the machine. It is a clever little contraption that cuts off a length of dough, squishes it through two wooden rollers, presses it around a curve (adding the ridges at the same time) and then knocks the pasta off. This first attempt, the pasta was a little too moist and the pieces kept sticking requiring me to manually knock them off the last bar. The next attempt, I made the dough drier.

The end result was fantastic: hearty and toothy and very satisfying. Sure, there was a cloud of flour in the kitchen that required cleaning up, but that’s part of the fun.